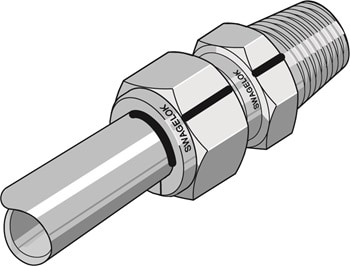
How to Pull up a Fitting
How to Pull up a Fitting – Swagelok Tube Fittings Up to 1 in./25mm
Pulled directly from the Swagelok Tube Fittings Catalog: Page 66
These instructions apply to both traditional fittings and to fittings with the advanced back-ferrule geometry.
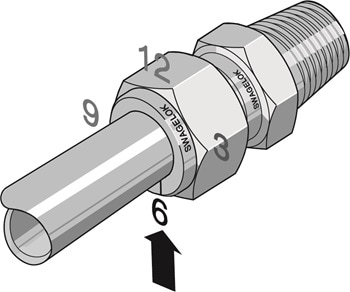
Manual Installation – For 1/16, 1/8, and 3/16 in., and 2, 3, 4 mm tube fittings, tighten the nut three-quarters of a turn to the 3 o’clock position.
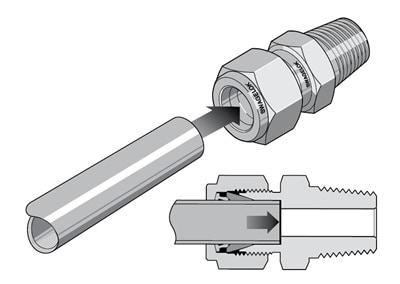
1. Insert the tubing into the tube fitting. Make sure that the tubing rests firmly on the shoulder of the fitting body and that the nut is finger-tight.
High-pressure applications and high safety-factor systems: Further tighten the nut until the tube will not turn by hand or move axially in the fitting.
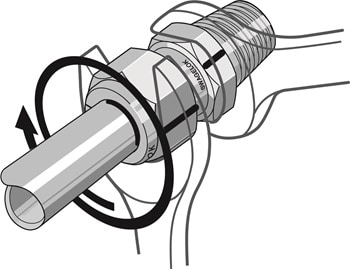
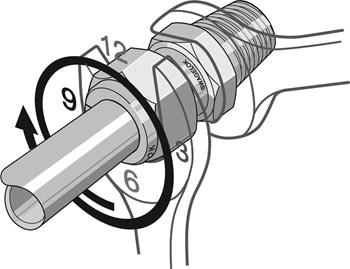
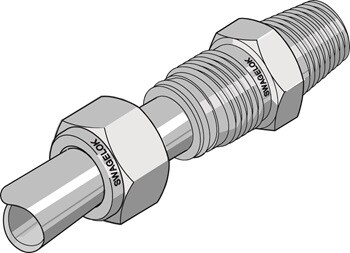
2. Scribe the nut at the 6 o’clock position.
3. Hold the fitting body steady and tighten the nut 1 ¼ turns.
For 1/16, 1/8, and 3/16 in.; 2, 3, and 4mm tube fittings, tighten the nut only three-quarters turn to the 3 o’clock position.
Reassembly Instructions – All Sizes
Do NOT use a gap inspection gauge with reassembled fittings. Always depressurize the system before disassembling a Swagelok tube fitting.
1. Prior to disassembly, mark the tube at the back of the nut; mark a line along the nut and fitting body flats.
Use these marks to ensure that you return the nut to the previously pulled-up position.
2. Insert tube end connection with pre-swaged ferrules into the fitting until the front ferrule seats against the fitting body.
Over 1 in./25mm sizes: If needed, reapply lubricant lightly to the body threads and the rear surface of the back ferrule.
3. While holding the fitting body steady, rotate the nut with a wrench to the previously pulled-up position, as indicated by the marks on the tube and flats. At this point, you will feel a significant increase in resistance. Tighten the nut slightly.